Everviz WordPress plugin
A new everviz WordPress plugin is available, which will help you manage everviz projects on your website quickly, easily, and more efficiently.
In this article:
Introduction
Using the everviz WordPress plugin to embed visualizations from everviz directly into blog posts and pages, without having to leave the WP interface.
You can use a simple built in interface to embed visualizations, with search and pagination features, for you to easily find your existing projects.
This video shows the plugin in action:
Installing the WordPress plugin
Step 1 – Download, install and activate
To grab your free everviz WordPress plugin head on over to the WordPress Plugin Page!
1. Install using one of these options:
- Install directly from WordPress Admin panel: go to Plugins -> Add New -> Search for “everviz”, and click the Install button.
- Download the ZIP manually from WordPress’ plugins repository, and upload it through WordPress Admin panel: go to Plugins -> Add New -> Upload Plugin, browse to the downloaded Zip and upload it.
- Download the ZIP, extract it and manually upload the extracted folder through FTP to the /wp-content/plugins/ directory of your WordPress installation.
2. Activate the plugin through the ‘Plugins’ menu in WordPress.
Step 2 – Create license key
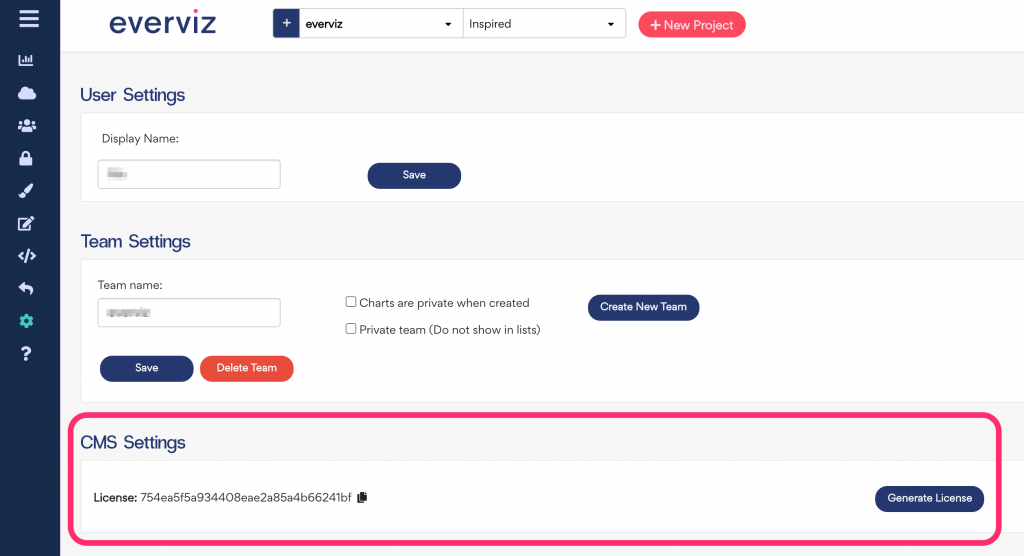
- Go to https://everviz.com/profile/settings to create a license key in the “CMS Settings” section.
- Copy the generated license key.

Step 3 – Activate license
- Go to your WordPress editor, in a page or post, and choose “Add block” to your document.
- Search for “everviz” and paste the license key you generated in the previous step.
