Create a table
Creating a Table is very simple. The process is aligned with how you create Charts, Maps and Layouts. Responsiveness, branding, Interactivity and Accessibility come as usual out of the box.
To create a new Table, follow these simple steps:
- Click the New Project button

2. Choose Table

3. Connect and Import data for the table with the options below:
- Enter the data manually in the data table.
- CSV file import (select file or use file drag and drop).
- Copy and paste data, e.g. data from Excel, Google Sheets or a CSV resource.
- Connect to a Google Sheet.
4. Give your table a title, and possibly also a subtitle. If your table doesn’t need a title, make sure to empty the title fields. Click the Next button to proceed.
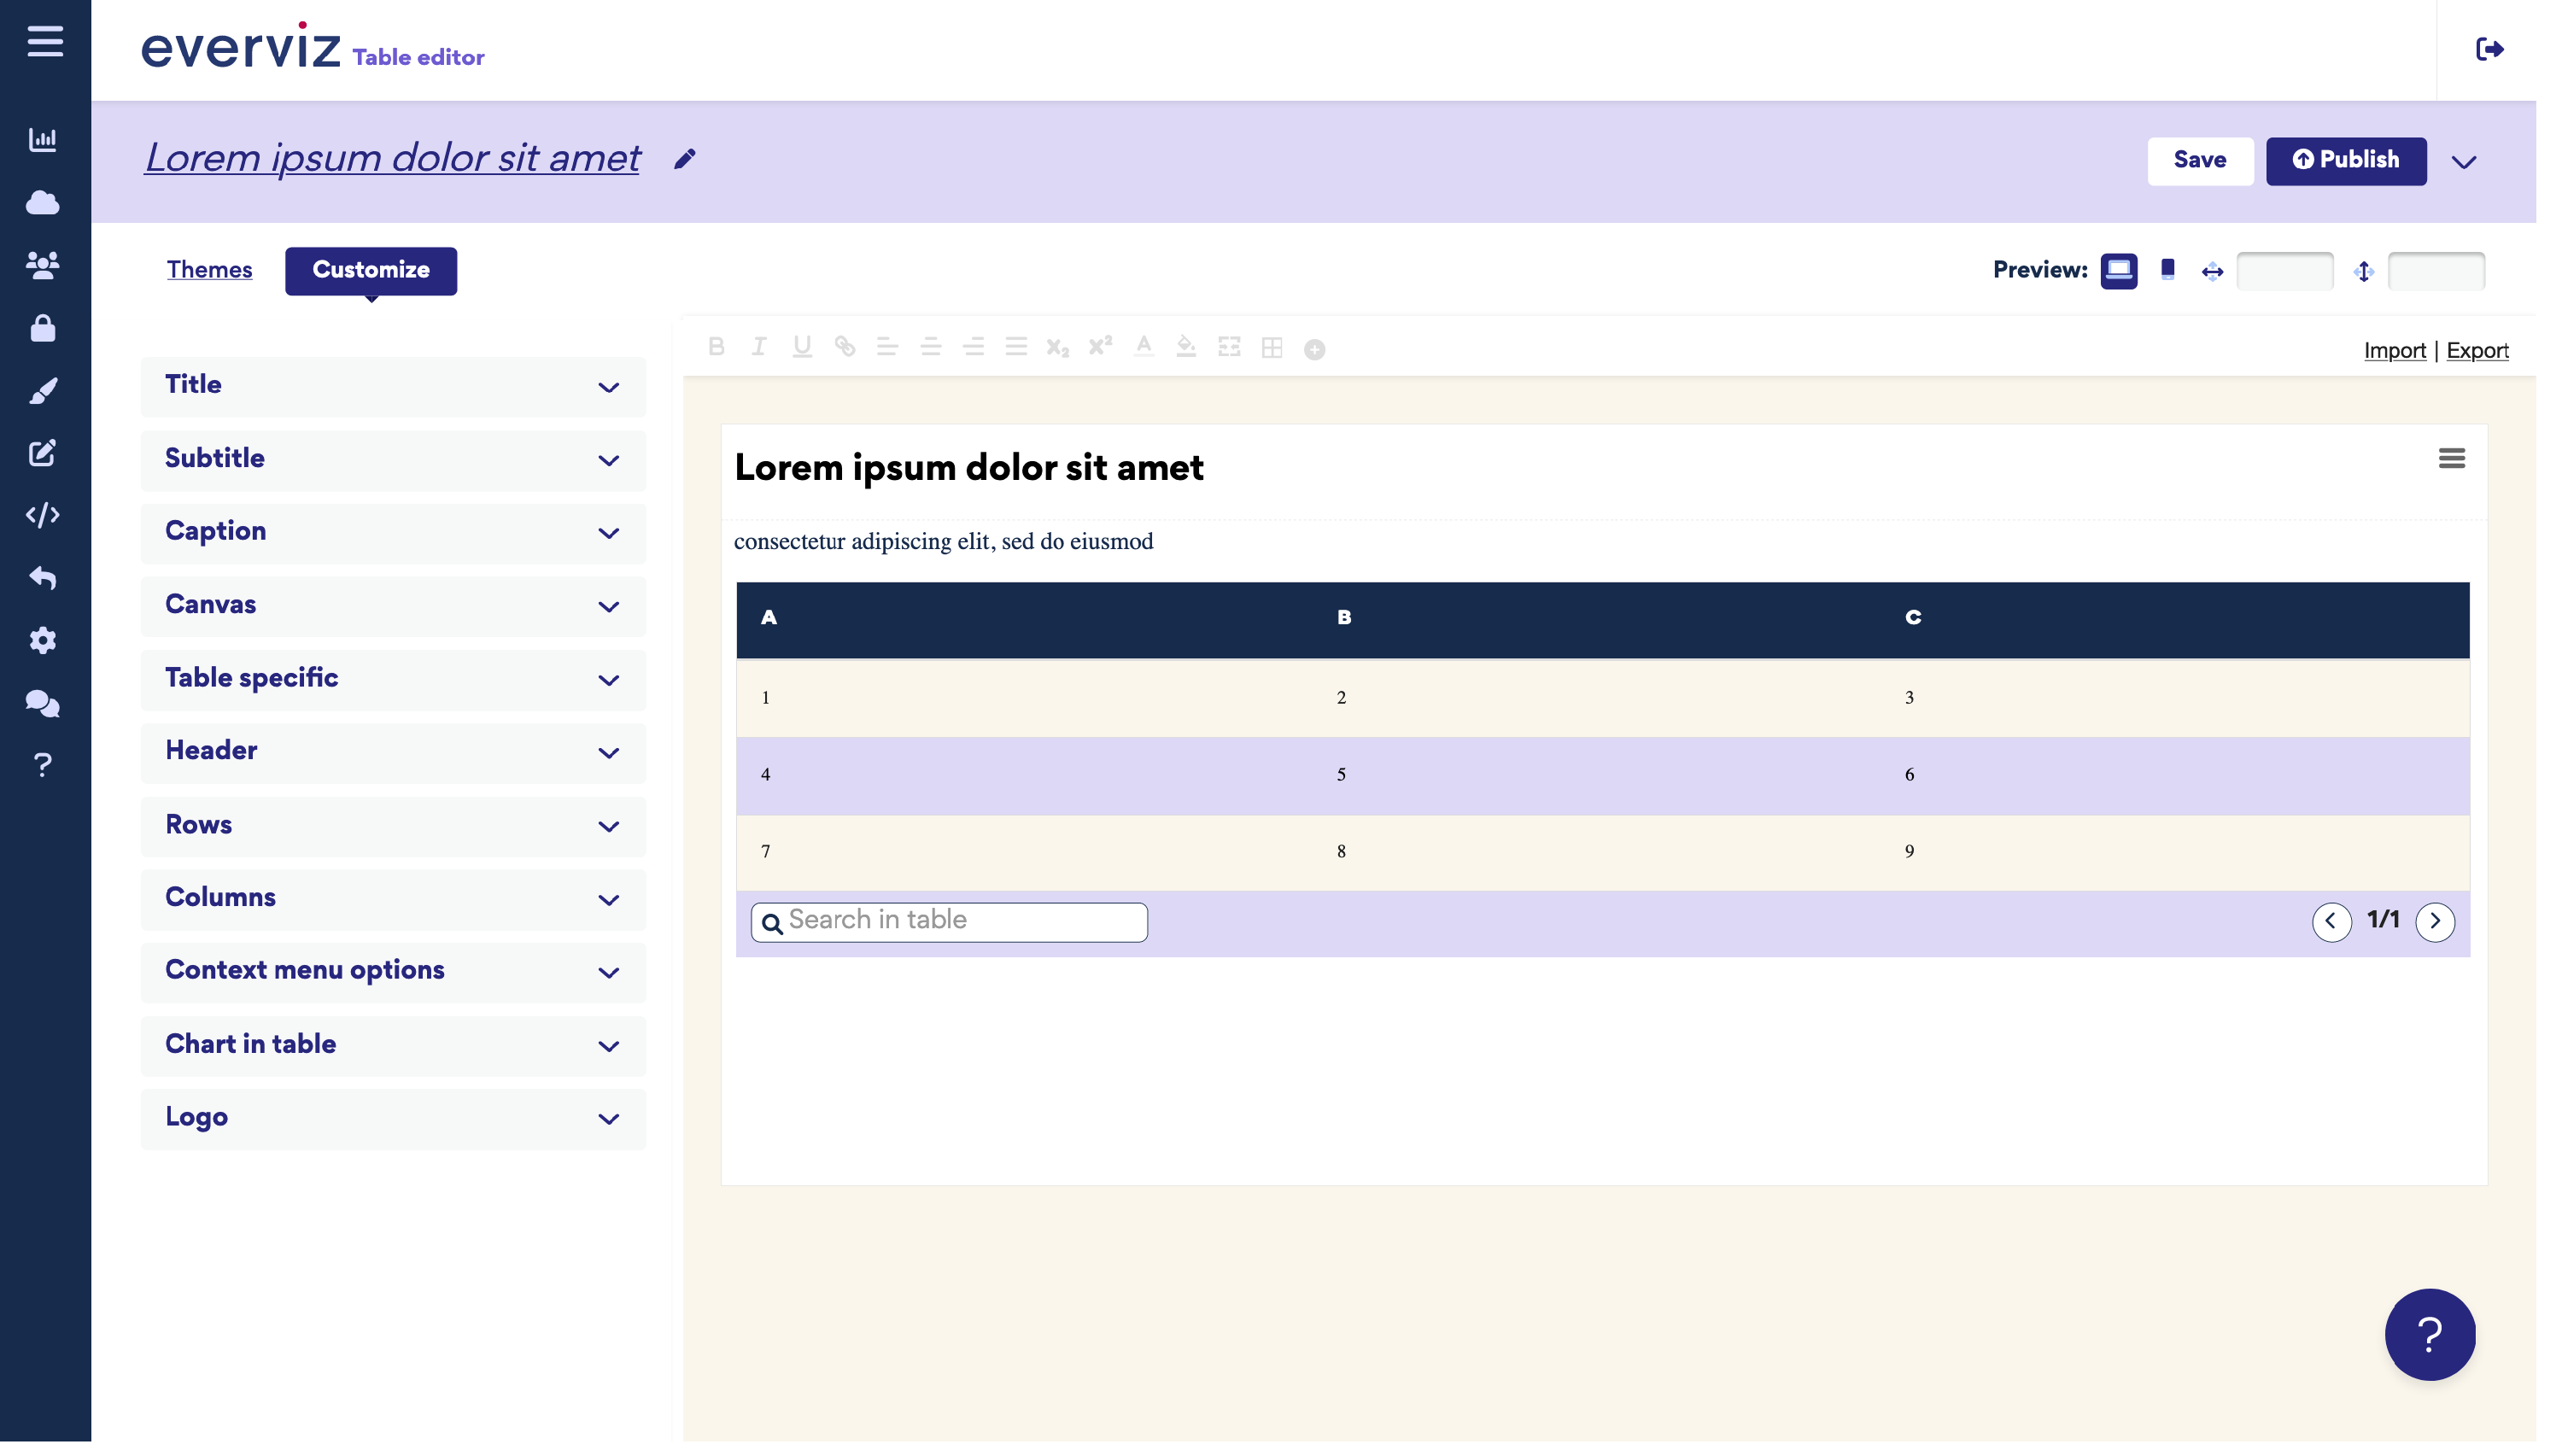
5. Modify and change your table using the editor, where you can switch between the views for Themes and Customize. When you are satisfied with the result, click the Save button to save the table to your Project collection. The Publish button will generate public links and embed codes for sharing the table.