Using and Creating Templates in everviz
Templates in everviz let you design charts once, then reuse them with simplified editing options for your team.
Templates make it easy to:
- Maintain brand consistency across charts
- Simplify the editor for non-designers
- Save time by reusing designs across projects
Creating a template (Designer)
To create a Template:
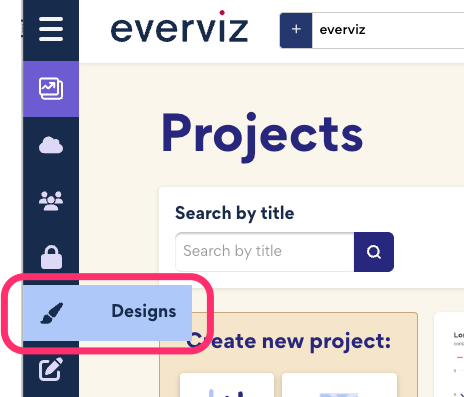
- Go to Designs in the left menu.
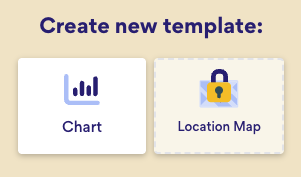
- Click + Create a new template to open the template editor
- You are now in the chart template editor. For detailed guidance on how to use the editor, see our editor documentation.
- Click Save after designing the Template.


Tip: You can also create a Template from a chart you already have by clicking "Duplicate to Template" or "Convert to Template in the project settings, which can be opened by clicking the cogwheel on a project

Choosing editable settings
In the Controls section, you can decide exactly which options are available to content creators. For each setting in the editor, simply check the boxes for the options you want to make editable. This way, you can lock down branding elements like fonts and colors while still allowing updates to data or labels. The result is a simpler editing experience for your team and consistent output across all charts.

Using a template (Content creator)
Templates make it quick to create new charts with the right design and controls already in place.
Steps:
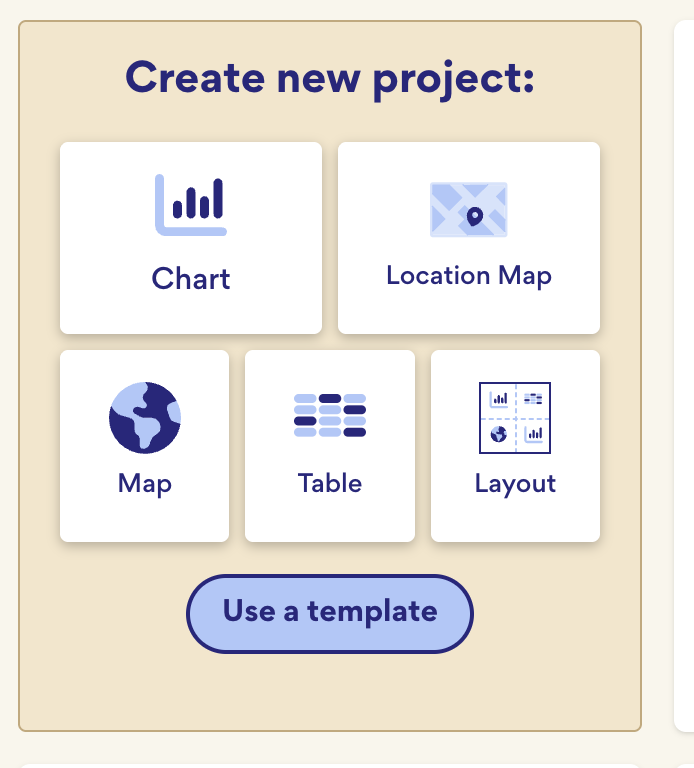
- From the Projects homepage, click Use a Template.
- Select the template you want to start from.
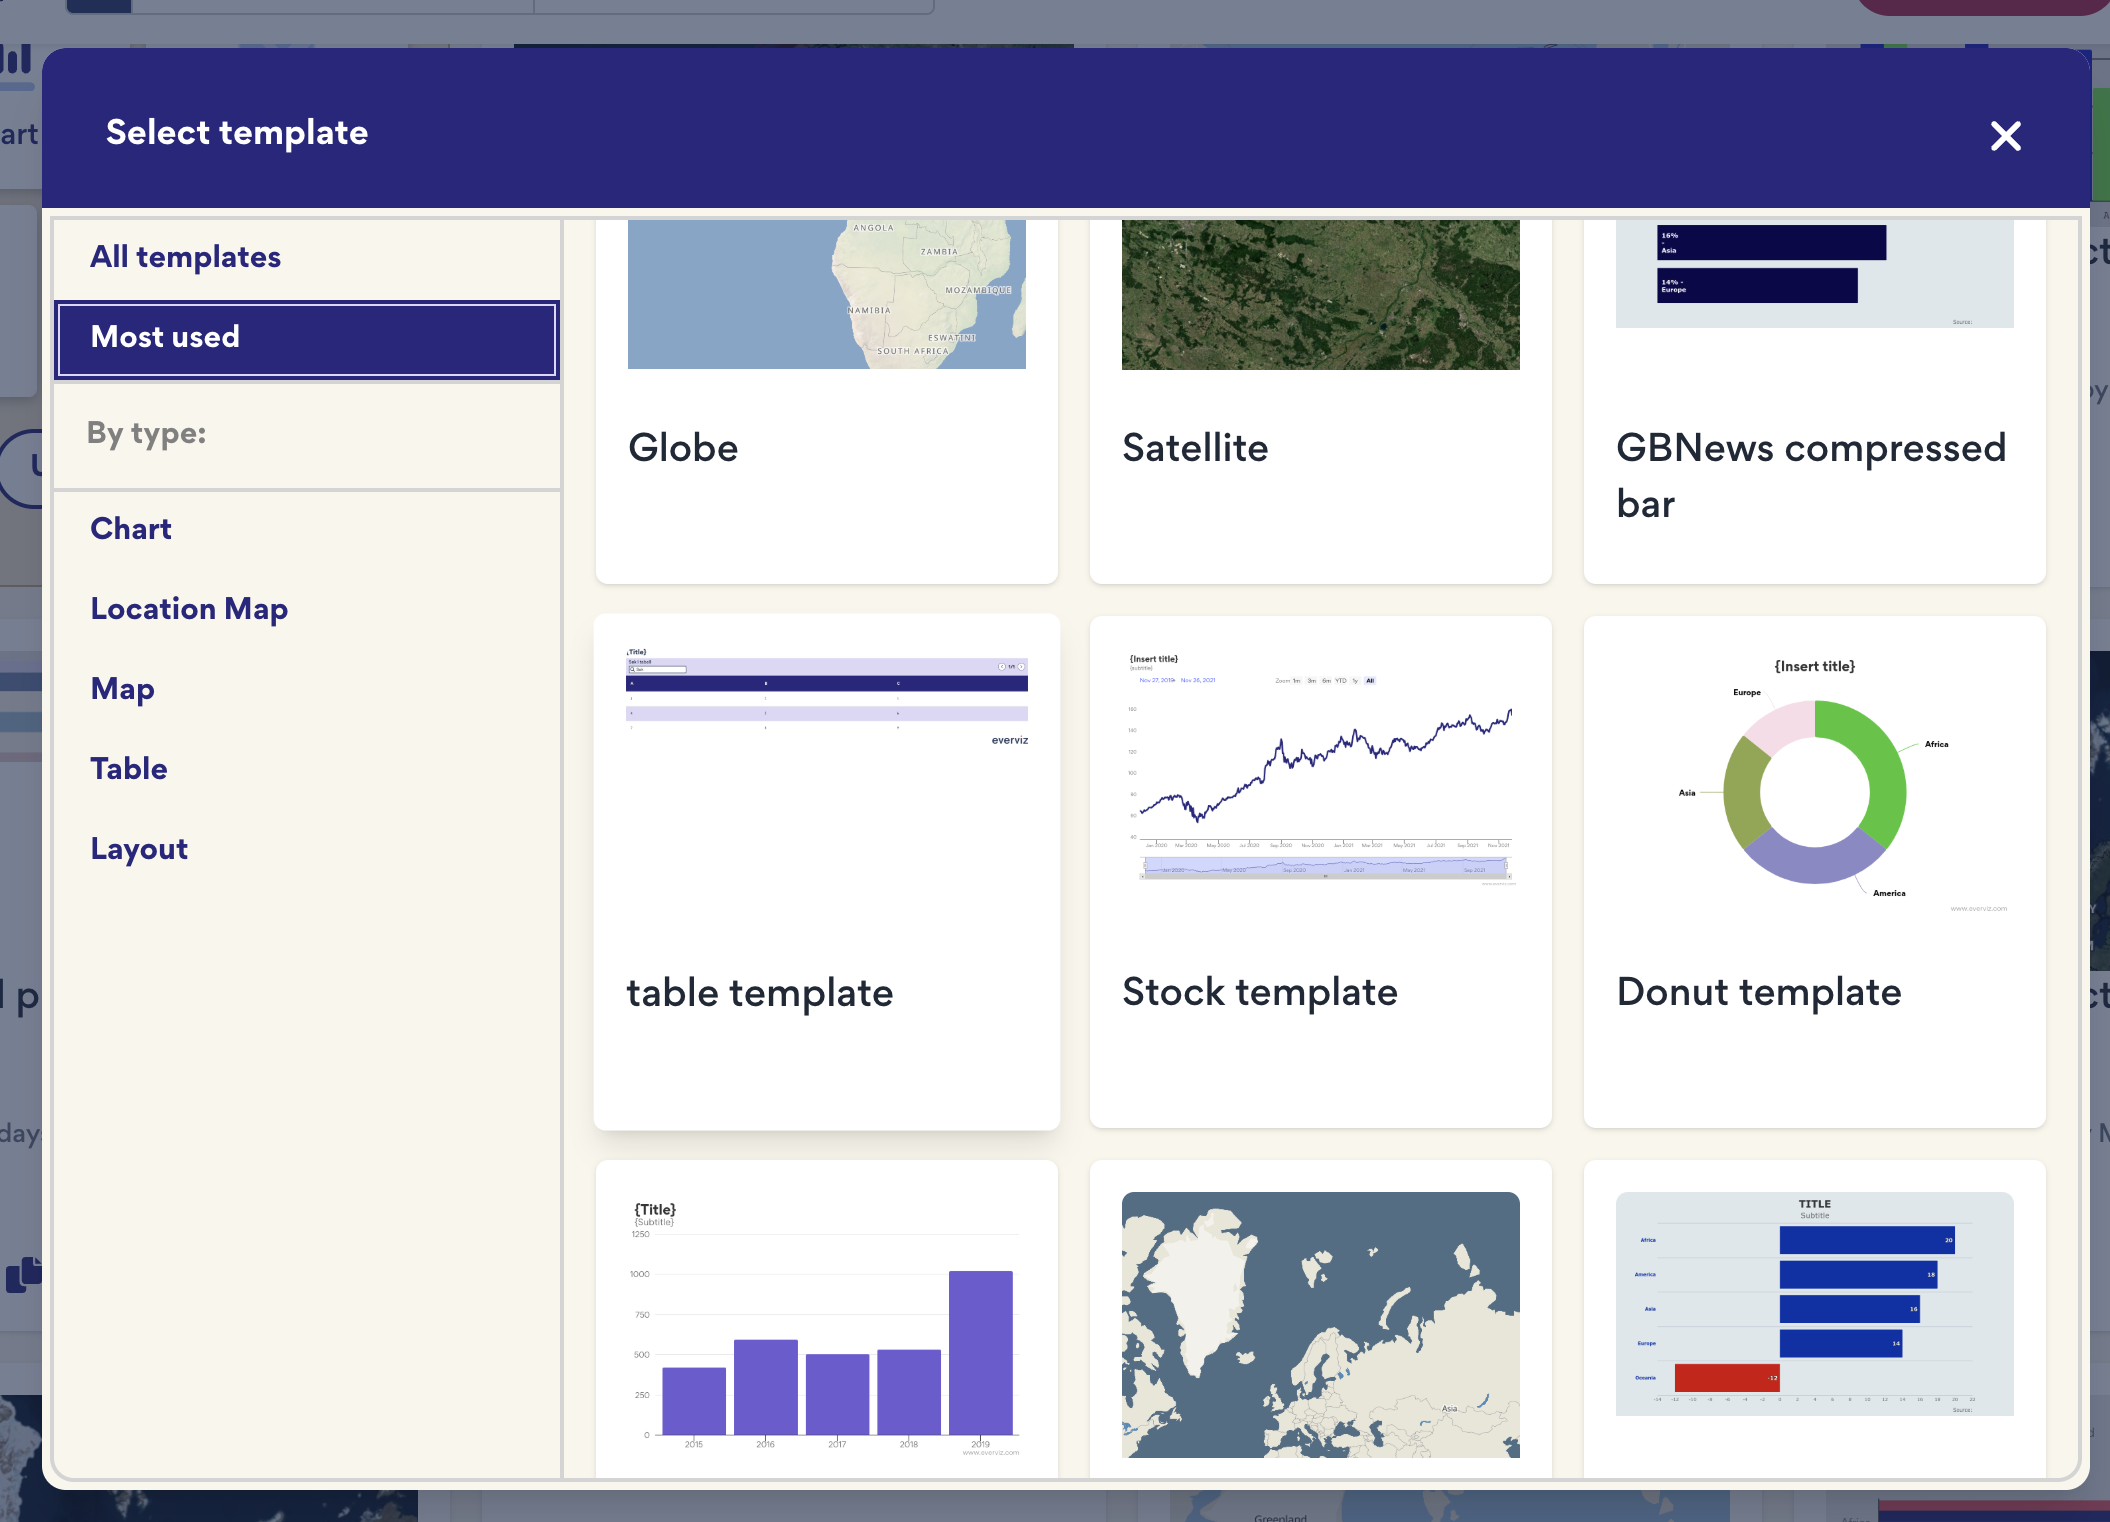
- Pick the appropriate template for your story.
- Adjust the options that the designer has made available in Controls.
- Preview your chart, then publish or export as usual.


💡 Tip: Using a template ensures your charts follow the correct branding and layout automatically, so you can focus on your content.
Edit template
To edit an existing template, click Designs in the left menu, find the template you want to update, and click it to open and make your changes.
