Create your first Location map
The location map is useful for pinpointing the location of events using customizable markers.
To create a location map
- From the Projects page, go to Create new Project, and then select Location map to start the map wizard

The location map wizard
The location map wizard guides you through the entire creation process, allowing you to easily configure markers, themes, and regions, and finally publish your project to your chosen platform.
Step 1: Choose your style
In the first step, select a predefined map style (Map Design). These styles are customized to align with your organization's branding.
Step 2: Adding markers and regions
On the Data step, you have three distinct methods for inserting your location data:
2.1. Add data through search
- Search for a place (e.g., city, address, landmark).
- From the search results, click to either add a marker or select a region.

2.2. Import Data from a File
- GeoJSON
- TopoJSON
- KML
- KMZ
- GPX

2.3 Add data directly on the map
- Right-click on any spot on the map to open a context menu.
- Use this menu to easily add markers, define regions, and more.

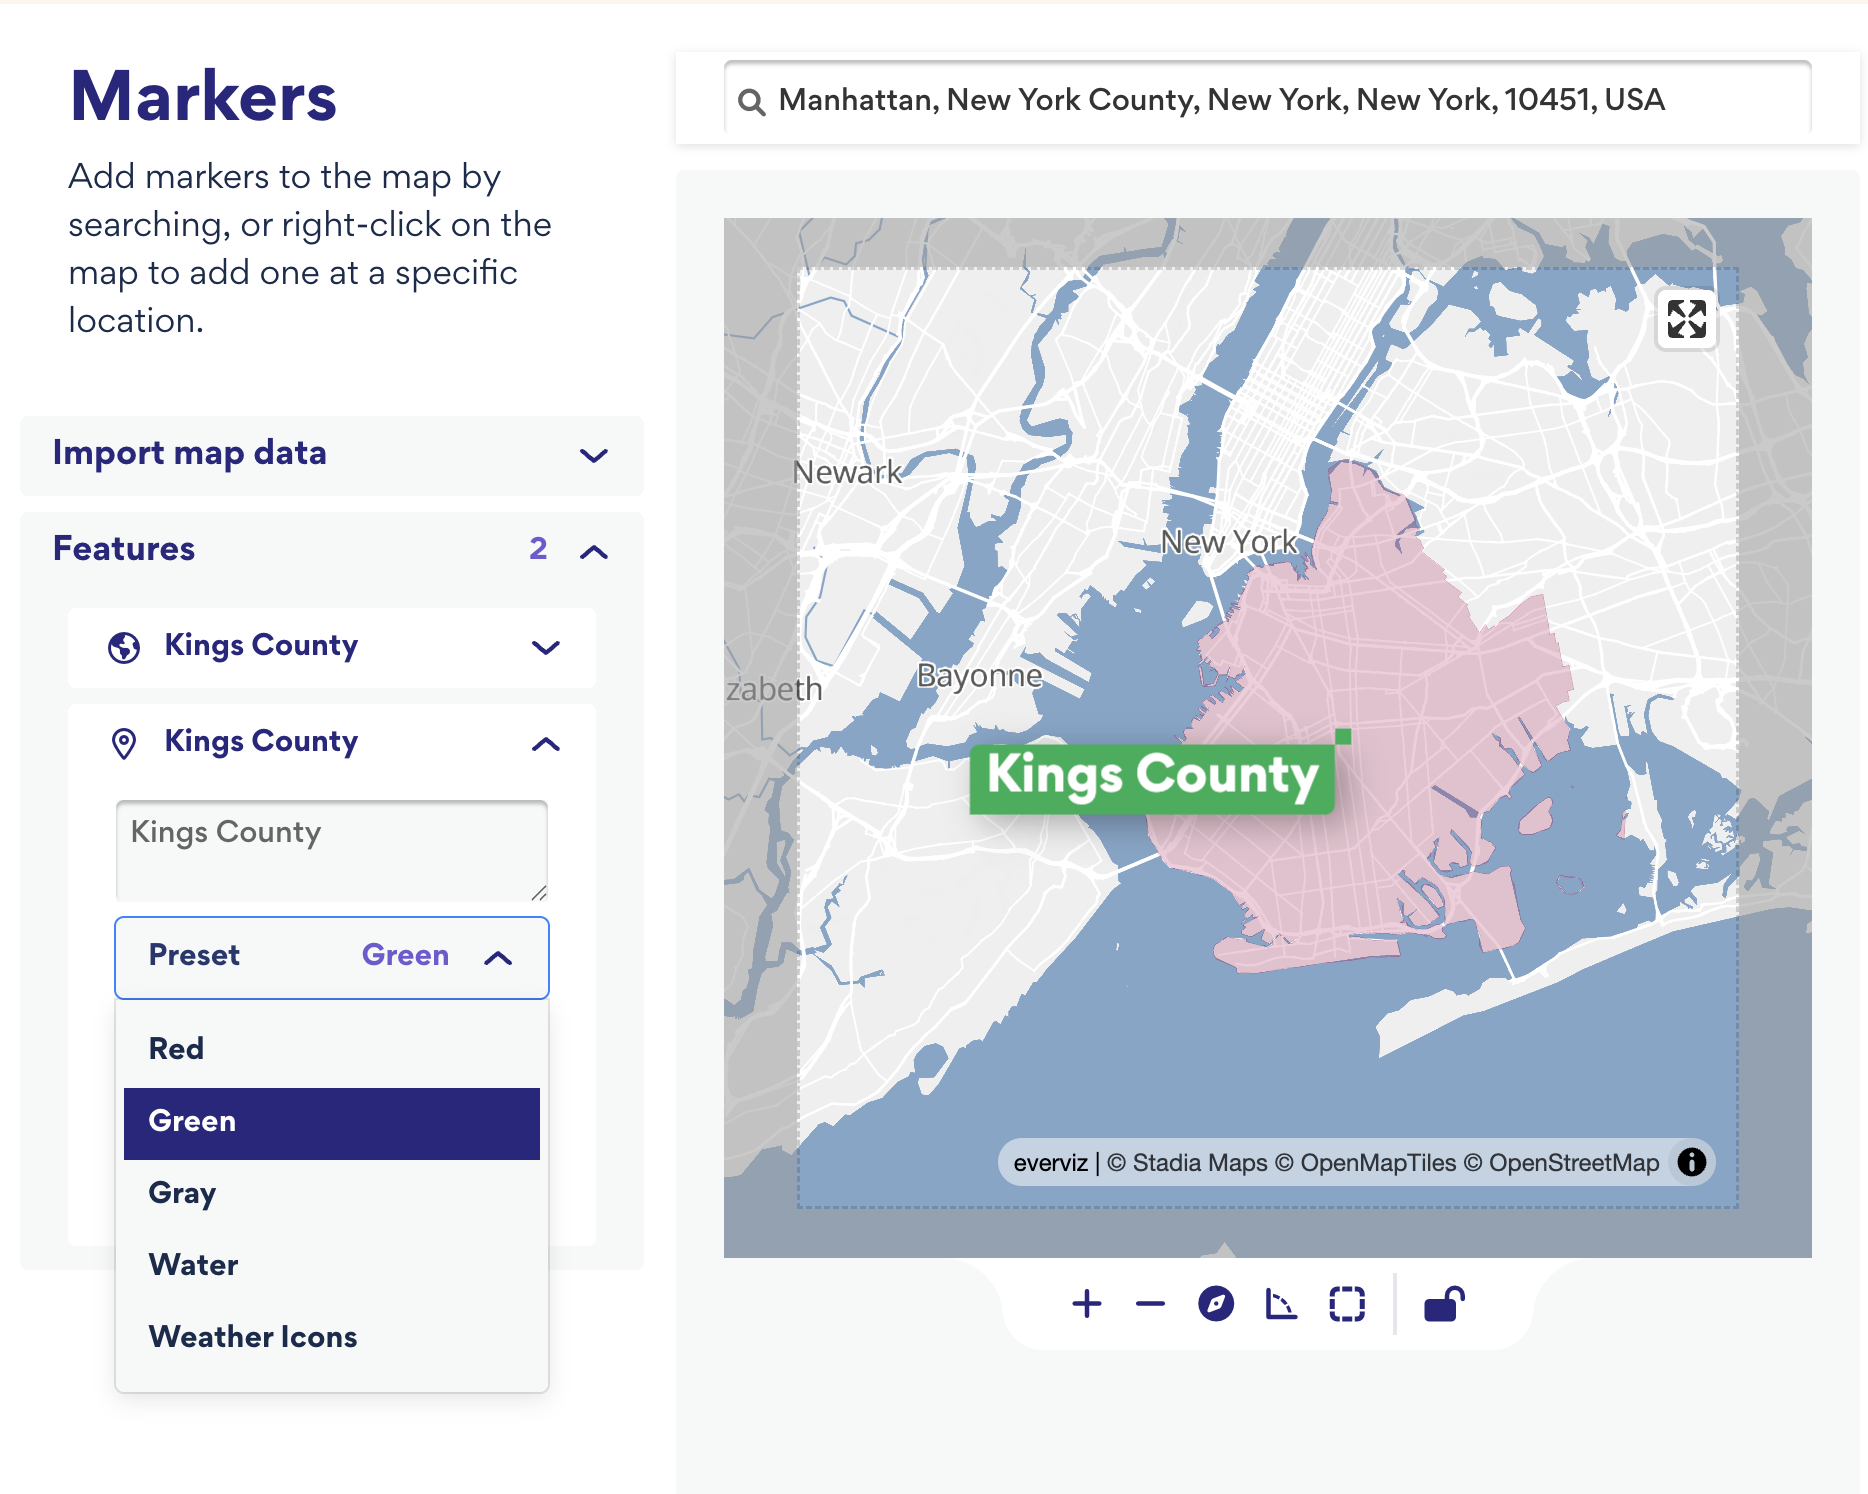
Customize markers and regions
Once overlays are added to your map, you can customize their appearance in the Features section on the left-hand panel. All available options for customization have been configured within the design system to ensure content creators can easily maintain your brand consistency.
 Step 3: Customize your map
 Step 3: Customize your map
In the third step of the wizard, you can fine-tune your map's appearance and functionality. Please note that the available customization settings are governed by your active map template, meaning your options may vary based on what has been configured for your team.
3.1 Map Style
- Fullscreen control: Enable this option if you want the reader to be able to open the published map in full-screen mode.
- Scale control: Turn on to display a scale bar directly on the map.
- Minimap: Activate the minimap to provide geographical context, showing the current map view's location in relation to a larger geographical area.

3.2. Animation
Select one of the predefined zoom presets to configure the animation. Click Play to preview how the chosen zoom effect will appear when the map loads.
 3.3 Map Layers
 3.3 Map Layers
This section allows you to toggle (turn on and off) various map elements. The specific options available here are determined by your current map template and the permissions configured for your account.

Step 4: Publish your map

Read more about our full range of publishing options.
For more options, click the Continue in Editor button. More information about our map editor can be found here.